
How To Use An Android Device As A Second Monitor For Your PC
In certain multitasking situations the
screen of your PC or laptop may be insufficient and carrying an
additional monitor with you is not always a feasible option. Here we
will show you how to turn your Android into a second screen for your PC
and expand your desktop to be more productive.
1: Install the server on your PC or laptop
Converting your Android tablet or
smartphone to a second screen for your laptop or PC can be very useful
on many occasions: play a video of your computer to entertain your
children while you work, work more comfortably with several documents
open simultaneously, etc.
With Spacedesk you can connect your
Android to your PC to turn it into a second screen, thus expanding the
available workspace on your desktop and all in a very simple way. The
only requirement is that both computers must be connected to the same
Wi-Fi network so that they can maintain communication between them.
Spacedesk is based on two software
components in which one, the server, is installed on the computer and
the other, the client, will be installed on your Android device.
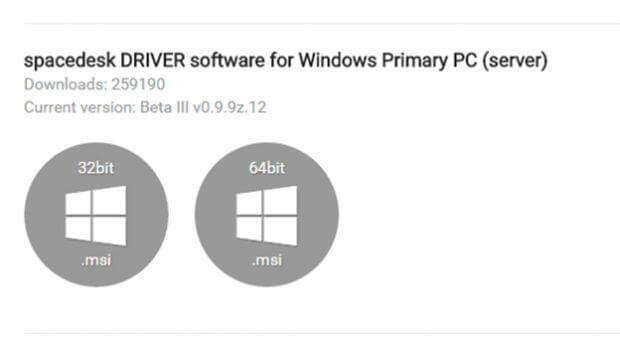
Start by installing the server component on your PC or laptop. To do this, access the Spacedesk website
and download the appropriate Spacedesk Driver installer for the
operating system of your computer, depending on whether you use a 32-bit
or 64-bit system.
The installation has no mystery and
after installation, you will need to restart the computer and the server
will start in the background in the system tray.
2: Install the app on your Android
The next step will be to install the
Spacedesk app on your Android device that will work as the second
screen. To achieve this, you only have to search the Spacedesk app on
Google Play or access from here and then simply install the app on your device.
Then make sure you are connected to the
same Wi-Fi network as your computer and verify that the app detects the
server that is running on your computer. Your computer name and IP
address should appear in your Android app.
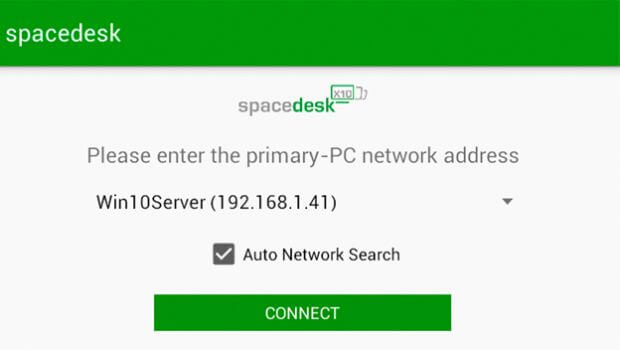
If the app it does not automatically
detect the server on your computer, uncheck the box Auto Network Search
and enter the IP address of your computer manually.
After entering the IP or detected the
server of your PC, press on Connect to connect both devices. At the
moment you will not get the image of your computer since now you need to
configure the options to share the screen from the PC. That will be the
next step.
3: Configure the secondary screen of your PC
Once the connection between your PC and
your Android is established, you only have to configure what will be
displayed on the screen of your device. This is done from the
configuration window of your Windows.
Right-click on an empty space and choose
the Display Settings option. In this window, you can see both the
native screen of your laptop or the monitor of your PC, as well as the
new screen of your Android.

To make it easier to use, you can drag
the screen representing your Android to the left or right of your laptop
depending on where you have your Android. Then, display the Multiple
Screen options list, choose the Extend these screens option to expand
your desktop by occupying both screens and click Apply.
From this moment, you can now move the
windows between one device or another. If you want to quickly change
screen settings, you can also choose to use the Windows + P key combination and choose the shared screen mode you prefer.

No comments:
Post a Comment
Leave your valuable opinion.